
FOOD AND LIT AUGUST
Japan is an island country in East Asia. It is situated in the northwest Pacific Ocean, and is bordered on the west by the Sea of Japan, while extending from the Sea of Okhotsk in the north toward the East China Sea, Philippine Sea, and Taiwan in the south.
FOOD
How To Make Japanese-Style Iced Coffee
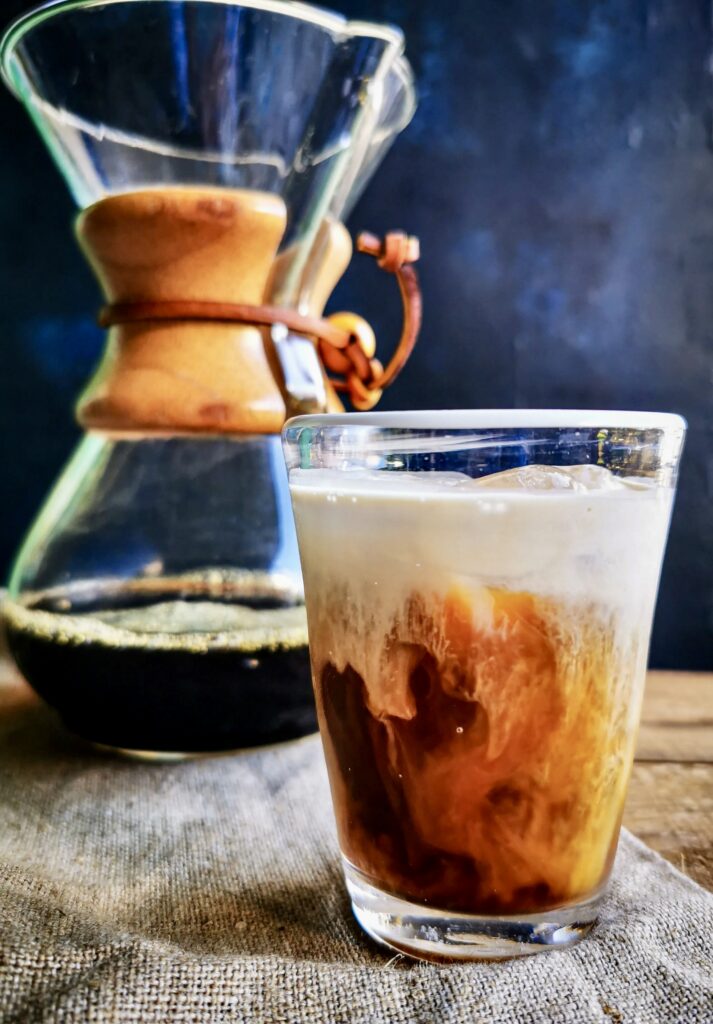
The short-cut to a deeply-flavored, bright and complex yet easy-drinking iced coffee. No need for fancy equipment – just a kitchen scale. Course: DrinksCuisine: JapaneseKeyword: easy recipe, iced coffeeServings: 2Calories: 3 kcalAuthor: kellie andersonIngredients
- 170 g ice cubes
- 30 g medium grind coffee preferably freshly ground or recently ground
- 335 ml boiling water
- 40 ml almond milk, optional or coconut milk, cream, or whatever you like
- extra ice to serve
Instructions
- Place your Chemex, heat-proof jug or wide-mouthed jar on a weighing scale and set to “0”. Add ice cubes to 170g.
- Wet the paper filter if using (some inserts don’t need a paper filter) and wring gently. Set over your vessel or into sieve or pour-over filter insert.
- Zero the weighing scale and add the measured coffee to the damp filter paper or fine-mesh filter cone
- Boil 335ml of water or larger amount if that’s easier.
- Zero the weighing scales and slowly add just enough boiling water to dampen the coffee grounds. Leave 20 seconds. This allows the coffee’s aromatics to “bloom” and develop.
- Very gradually add the remaining water, trying not to add much more than the level of where the coffee sits. This is why a gooseneck style kettle is good as it is easier to do this step. But it isn’t crucial to be this careful – more of an aficionado/coffee house step. It normally takes me about six minutes to carefully pour over the water. But honestly, even if you pour the boiling water in two stages (it would spill over if done in a single pour), your coffee will be incredible.
- You will see that the ice melts as the coffee slowly drips in. Once the coffee has finished dripping, remove the filter paper or pour over cone and give the jug, carafe or jar a gentle swirl to fully melt any remaining ice.
- Now it is just a matter of adding ice to two glasses and pouring in the freshly brewed yet remarkably cold coffee. Pour over cream or milk, adding any sweetener if you like. You will probably find that even if you normally take a bit of sugar that this method will give a natural gentle sweetness

JAPANESE MILK BREAD
COURSE: BREAKFAST, SNACKS
CUISINE: ASIAN, JAPANESE
KEYWORD: BREAD, BURGERS & SANDWICHES
PREP TIME: 45 MINUTES
COOK TIME: 40 MINUTES
PROOFING TIME: 4 HOURS
TOTAL TIME: 5 HOURS 25 MINUTES
SERVINGS: 18 SLICES (1/2 INCH)
CALORIES: 118KCAL
AUTHOR: DINI @ THE FLAVOR BENDER
The softest, milkiest Japanese milk bread, that makes the best sandwiches and dinner rolls! This is a step by step guide to help you make the perfect milk bread loaf.
EASY – This is an easy bread recipe that yields spectacular results. There is an extra step to make the tangzhong, but this is also easy.
US based cup, teaspoon, tablespoon measurements. Common Measurement Conversions
INGREDIENTS
TANGZHONG
60 mL water ¼ cup
60 mL milk ¼ cup
23 g bread flour
JAPANESE MILK BREAD
Tangzhong room temperature
120 mL milk ½ cup, lukewarm
7 g active dry yeast 2 – 2 ¼ tsp
50 g sugar ¼ cup
15 g dry milk powder 2tbsp
1 egg
350 g bread flour about 2 ⅔ cups, spoon and leveled
1 tsp sea salt
58 g unsalted buttersoftened, 4 tbsp / ½ stick
INSTRUCTIONS
TANGZHONG
Place the water in a small saucepan. Add the bread flour and whisk until you have a smooth mix with no lumps. Add the rest of the milk and whisk to combine.
Heat over medium heat while whisking constantly until the mixture thickens. The resulting mixture should have a thick, pudding-like consistency.
Scrape the mixture into a bowl and then cover with plastic wrap. Make sure the plastic wrap is touching the surface of the tangzhong to prevent a skin from forming on top.
Allow the tangzhong to cool to room temperature.
JAPANESE MILK BREAD DOUGH
In your mixing bowl, place the lukewarm milk and dissolve about 1 tsp of the sugar in the liquid. Sprinkle the yeast over the milk and stir gently to mix. Allow the milk + yeast mixture to stand for about 10 – 20 minutes until the yeast is activated. The mixture should become bubbly and frothy on the surface.
Once the yeast is activated, add the milk powder (if using), the rest of the sugar, tangzhong, the egg, flour, and finally the salt.
Using a spatula, mix the dough to combine the ingredients and to help form a scraggly dough.
With the dough hook attached to your mixer, knead the dough for about 5 minutes on a low speed (speed 2 or 3). The dough will be very sticky and stick to the sides, but continue mixing and the dough will start to come together.
After 5 minutes of kneading, add the butter in 3 – 4 additions, mixing for about 20 seconds in between. Scrape down the sides and the bottom of the bowl to make sure the dough mixes well.
Once all the butter is incorporated into the dough, turn up the speed to 4 – 5 (medium speed) and knead for a further 5 – 7 minutes. Scrape the bowl once or twice while kneading.
The dough should become smooth, satiny and pull off cleanly from the sides of the bowl.
Place the dough on a lightly floured surface and shape the dough into a ball. Then place the dough back in the mixing bowl and cover with plastic wrap.
Keep the bowl in a warm place and allow the dough to double in size (about 1 – 2 hours, depending on the weather/ambient room temperature).
When the dough has proofed in a warm place, you can transfer it to the fridge for a couple of hours just to make it a little easier to handle. THIS IS AN OPTIONAL STEP.
Alternatively, place the bowl in the fridge and let it slow proof for about 12 hours. The dough will also be easy to handle when chilled.
Once the dough is proofed and you’re ready to shape the dough, prepare the loaf pan. Butter 1 – 4.5 x 8.5 inch loaf pan and dust the pan with flour. If making dinner rolls, butter a 9 or 8 inch square cake pan, and dust the sides with flour. Set aside until needed.
Turn the dough out onto a lightly floured surface and press all the excess air out of the dough.
JAPANESE MILK BREAD LOAF
Weigh the dough, and divide it into 4 equal portions.
Roll out each dough portion into a six inch (approximately) square.
Fold the opposite corners of the square in towards the middle.
Roll up this piece of dough, starting from the pointed end. Make sure you roll up the dough firmly, and a little tightly. If it’s too loose, you may end up with large holes in the baked bread.
Once you’ve rolled up the dough to the top, fold the pointed edge in and pinch the seam to seal.
Place the rolled up dough in the dough pan, seam side down. There will be 4 rolls per loaf pan.
Repeat with all the dough portions and place them in the loaf pan.
Cover the loaf pan with plastic wrap and let the dough proof in a warm place, until doubled in size. This can take about 1 – 2 hours depending on the ambient room temperature. The dough should rise to just below the top of the loaf pan.
JAPANESE MILK BREAD ROLLS
Divide the dough into 9 equal pieces.
Roll each piece into smooth, round dough balls and place them in the square baking pan, with about ¼ – ½ inch of space between each ball. Each square baking pan should have 9 rolls each.
Cover the baking pan with plastic wrap and let the dough proof in a warm place, until doubled in size. This can take about 1 – 2 hours, depending on the ambient room temperature.
BAKING THE BREAD
Preheat oven to 350°F / 180°C. Once preheated, AND the bread is proofed, brush the top of the bread dough with a milk wash (for a more matte crust), or an egg wash (for a glossy crust). Bake in the preheated oven for 30 – 35 minutes (for the loaf), or 20 – 30 minutes (for the bread rolls). If the bread starts to caramelize too much in the oven, place a piece of foil over the surface of the bread to prevent it from burning.
If you have a thermometer, bake until the internal temperature is about 190 – 205°F (88 – 96°C).
Remove the loaf pan / baking pan from the oven and let it cool for a few minutes.
Turn the dough out onto a wire rack and let it cool down further.
This bread is easier to slice when at room temperature, but can be enjoyed warm too.
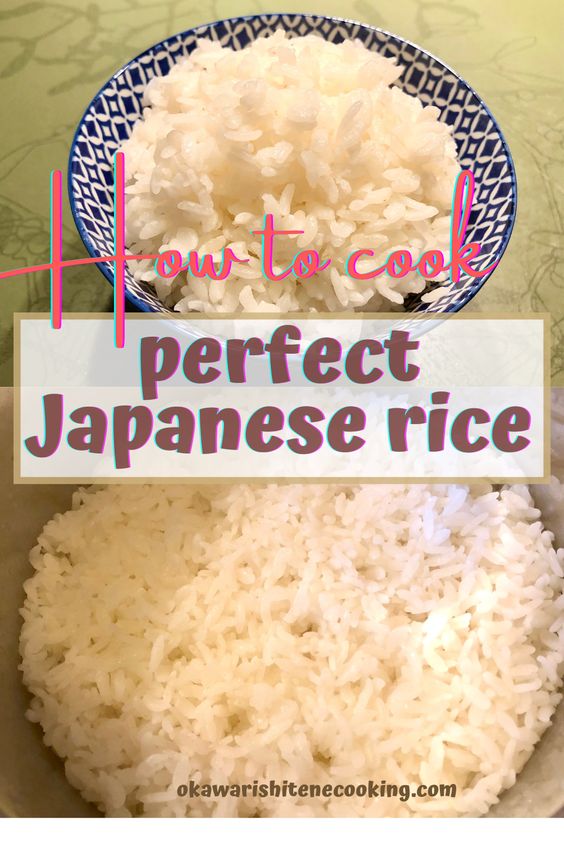
How to cook perfect Japanese rice
Step by step instructions how to cook perfect Japanese rice in a potPrep Time35 minsCook Time20 minsresting time15 minsTotal Time1 hr 10 minsCourse: riceCuisine: JapaneseKeyword: basic Japanese, rice Servings: 4 peopleAuthor: okawarishitene staff
Equipment
- Pot with tight- fitted lid
Ingredients
- 2 cups Japanese rice Japonica or Sushi rice
- 2 cups water
Instructions
- Put rice in a pot and add a little cold water and rub the grains together with your palms gently. The water becomes milky white. Drain milky white water immediately. Add fresh water and rinse rice and discard cloudy water. Repeat this process several times until the water is almost clear.
- Add fresh water and let rice soak at least 30 minutes or rice absorbed enough water and became completely white.
- Transfer the rice into a sieve and leave the rice for several minutes in order to drain water completely.
- Put washed rice in pot and add the same amount of water. Place a lid on pot and bring it to a boil over medium high heat. Once it starts boiling, turn down the heat to low and cook 13-15 minutes further.
- Turn off the heat and rest the rice for 10-15 minutes.
- If there are many small holes on the surface, this is evidence that the rice is perfectly cooked. (please see the foto.) Lid open and gently stir and toss the rice.


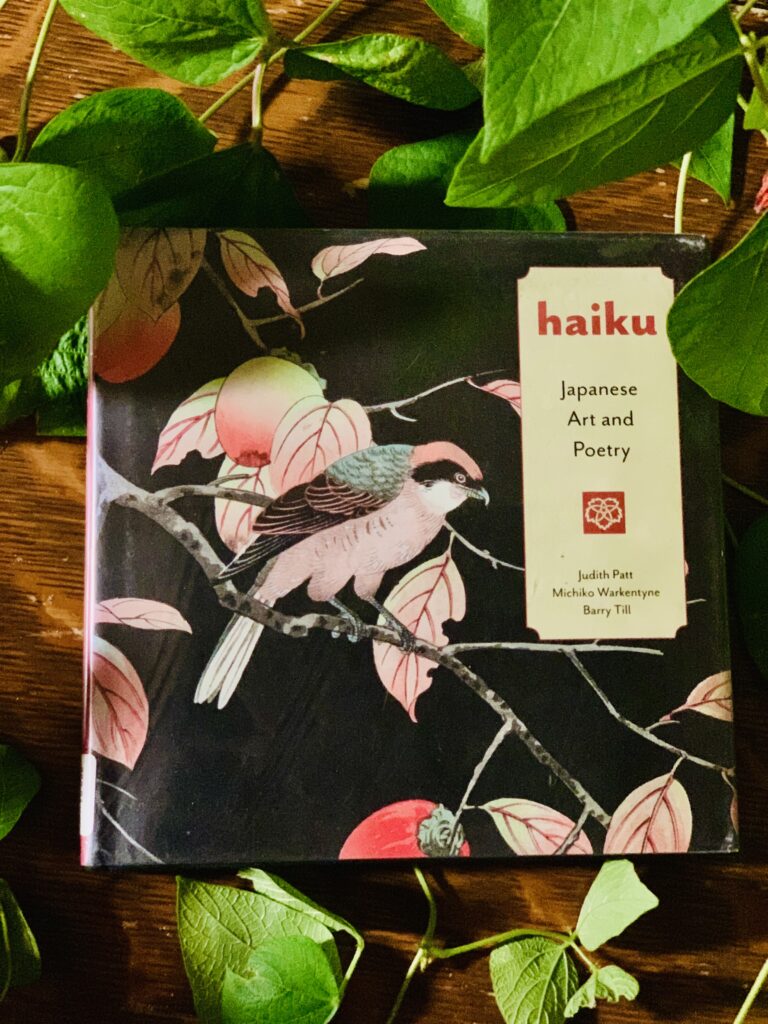
READING
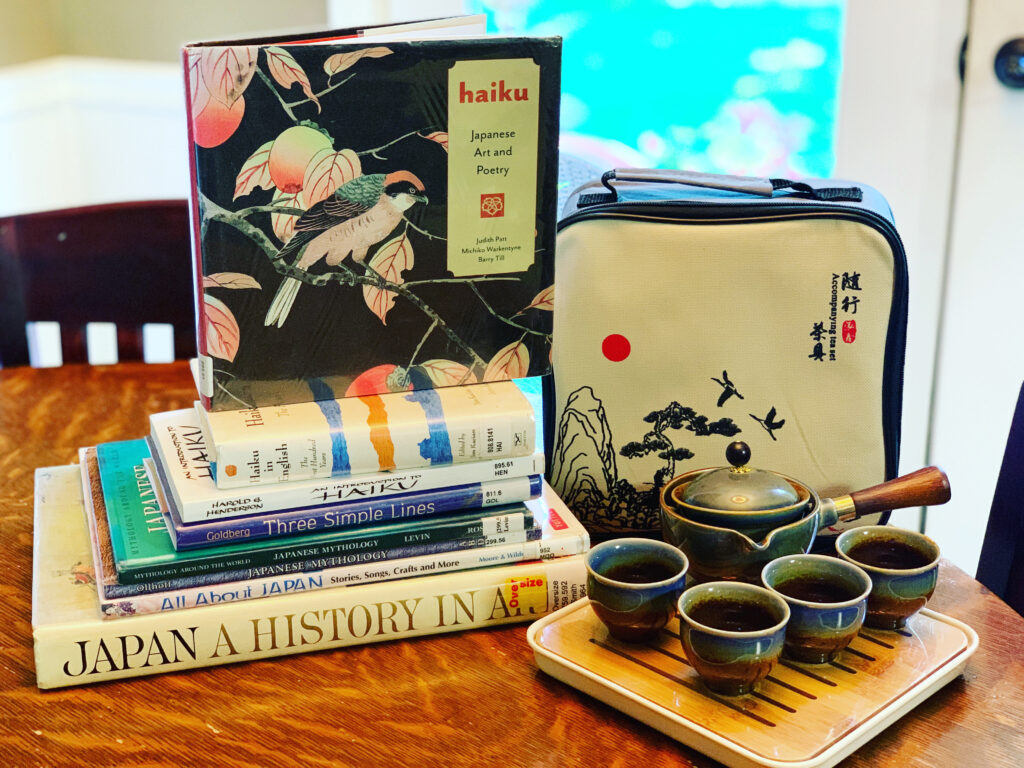
Art and Haikus this month for me!

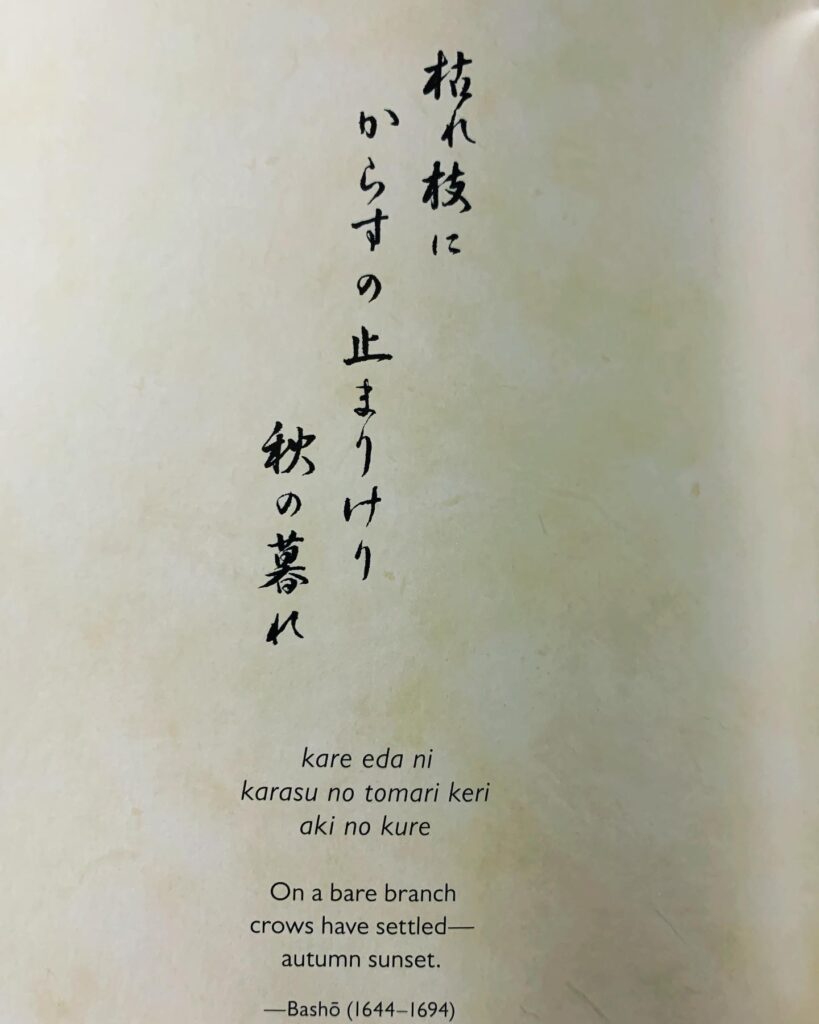
I’ve enjoyed my small adventure about Japanese art and poetry. The iced coffee and rice were also fun to make and enjoyable to partake in. The tea was wonderful! I’m not drawn to Japan, but I very much enjoyed my reading and studying of it this month.